


Introduction
Ubuntu 22.04 (Jammy Jellyfish) was released on April 21, 2022. It’s a Long-Term Support (LTS) release, meaning that it will receive support and updates until April 2026.
This tutorial will assist you in setting up Ubuntu 22.04 LTS on your PC from scratch.
New Ubuntu 22.04 Features
- Linux Kernel 5.15 – The main modification in this version is the addition of the "NTFS3" NTFS file system driver which gains a new and hugely improved NTFS implementation.
- Multimonitor settings – You have the choice to combine displays, mirror them, or use just one screen if you have two.
- Support for 2GB Raspberry Pi 4
- Other changes – Python 3.10, OpenSSL 3.0, PHP 8.1, GCC 11, Ruby 3.0.
System Requirements (minimum)
- 2 GHz dual core processor.
- 4 GiB RAM.
- 25 GB of hard drive space.
- VGA capable of 1024×768 screen resolution.
- Either a CD/DVD drive or a USB port (4GB at least) for the installer media.
Step 1: Download the Installation Media
1- Visit the Ubuntu download page via a web browser and select the appropriate Ubuntu version for your device. The most commonly used versions are:
- Ubuntu Desktop
- Ubuntu Server
- Ubuntu Derivatives
We will use the Desktop version in this tutorial.
2- Click the green Download button once you've located the correct version. Your download should start when you are forwarded to a thank you page. (We'll get Ubuntu 22.04 for desktops and install it.)
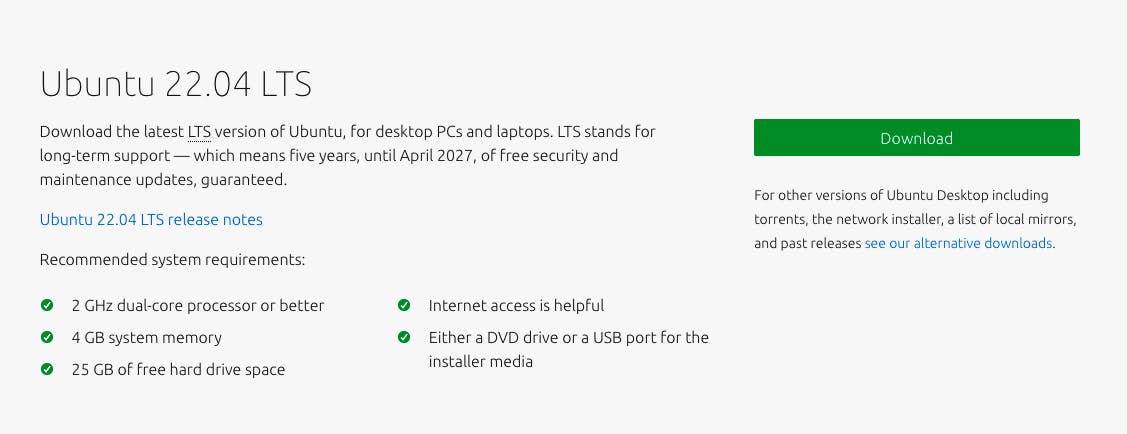
The download is an .iso file. You can use it to create a bootable USB drive.
Step 2: Create Bootable USB
You will need a USB stick of 4 GB or more. This process will erase all data on the USB drive. Be sure to back up all existing data.
Option 1: Create Bootable USB Drive on Windows
You’ll need to install a third-party utility called Rufus to create a USB bootable drive.
1- Download the Rufus utility. Scroll down to the download section and click on the link to download the latest version of Rufus.

2- Run the file once downloaded.
3- Plug in the USB drive and you will see the drive pop up in the device field.
Set the USB as the device you wish to write to.
In the Boot Selection drop-down, click Disk or ISO Image.
Click the Select button to the right.
Browse and select the .iso file you downloaded earlier.
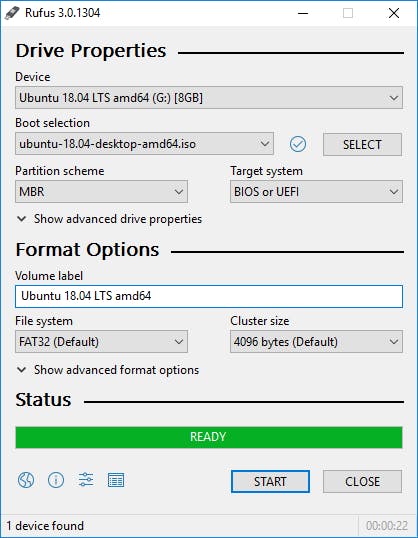
4- Click start
Option 2: Create Bootable USB Drive on MacOS
You cannot use Rufus on a Mac. Rufus only works on 32 bit 64 bit versions of Windows XP/7/8/10/11 only.
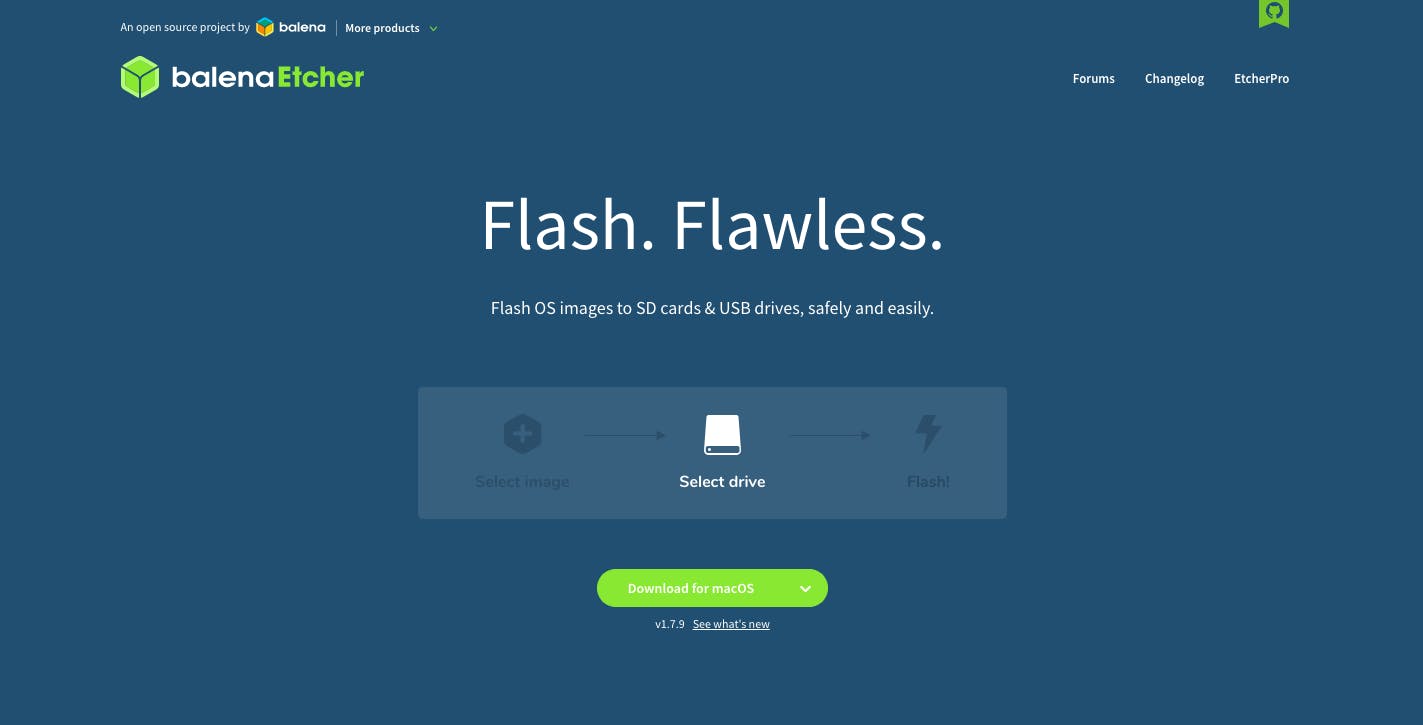
There are many alternatives to Rufus. We will use another open source alternative called BalenaEtcher.
1- Download BalenaEtcher. Click on the green button to start downloading.
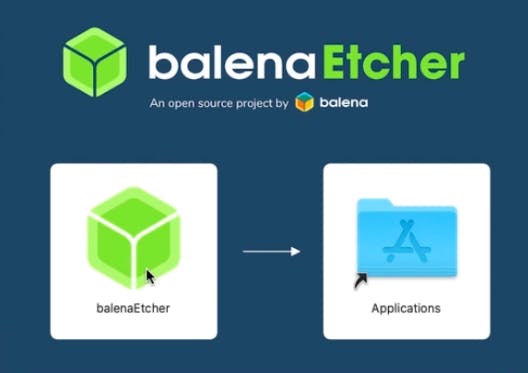
2- It is downloaded in DMG format. As a macOS user you probably already know how to install DMG file. Double click on the downloaded file and it will open the installer. Drag the Etcher icon to the Applications icon. That’s it.
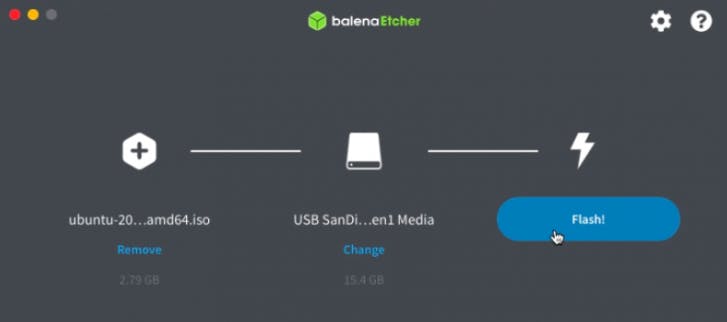
3- Start BalenEtcher and plugin your USB. Make sure that there is no important data on it because it will be formatted and then browse to the downloaded Linux ISO file and hit the flash button.
It will take a few minutes at the most to complete the process. When the process completes, you should see a message that the “disk you inserted was not readable by this computer“.
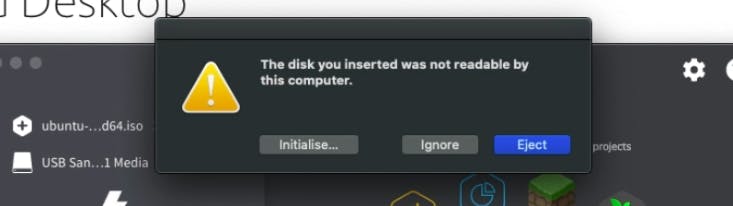
That is okay. It’s just that the USB is now in a format your macOS does not support it.
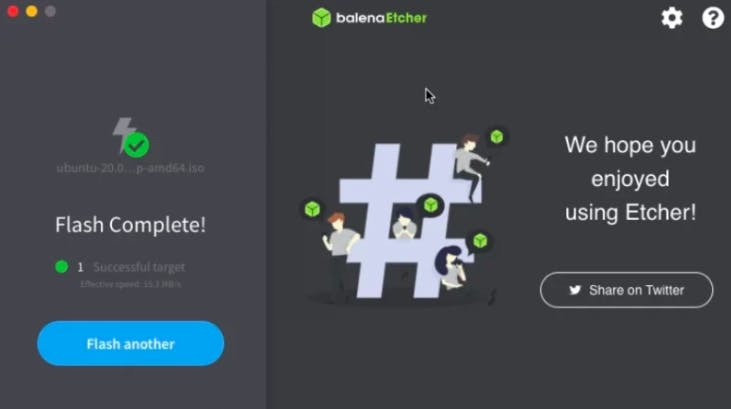
If Etcher gives you a success message about the completion of the flash, you don't have to worry about it.
Step 3: Booting from the live Ubuntu USB
1- Turn off your computer. Make careful to unplug any additional USB devices, including printers, memory cards, and so on.
2- Insert the Ubuntu USB drive into the system and turn on your machine.
There are two possible cases:
- The computer boots the USB drive automatically.
- You need to manually configure USB booting in the Boot Menu or BIOS/UEFI.
3- To manually configure the boot order, tap the boot menu key about once or twice per second as soon as the computer powers on.
The boot menu key may be different depending on the manufacturer. Below is a list of common boot keys associated to a brand:
| Boot menu key | |
| Asus | F8 or Esc |
| Acer | F12 , F9 or Esc |
| HP | F9 or Esc |
| Dell | F12 |
| Lenovo | F8 , F10 or F12 |
| Toshiba | F12 |
| Macbook | hold option |
4- Once you see your boot menu, use the arrows to pick the Ubuntu media to boot from. For a DVD, the entry will usually have DVD or Optical in the name. USB is usually labeled USB.
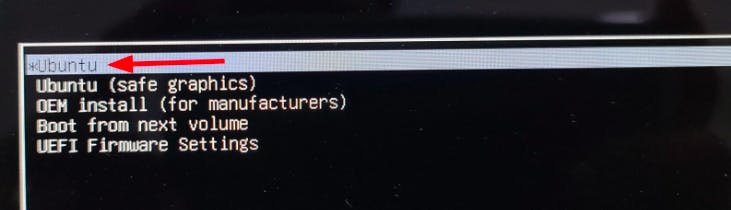
Your system should start loading the Ubuntu live disc menu and you should see the grub screen with option to boot into live Ubuntu session (the first option). Select it and enjoy it.
Step 4: Install Ubuntu 20.04 LTS Desktop
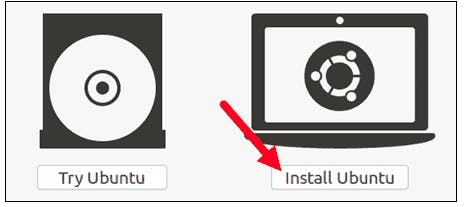
You can either test or install Ubuntu 22.04. If you want to try it, the .iso file comes with a direct mode option that works in memory.

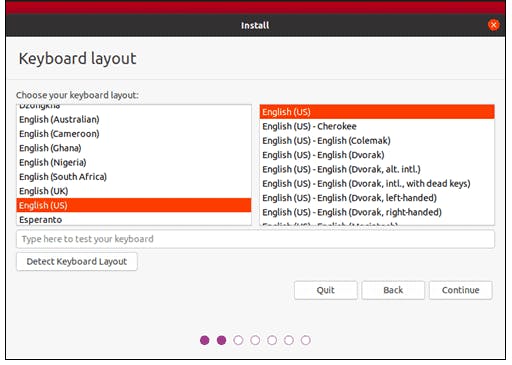
Choose Keyboard Layout
The system chooses between English and French by default.
You can choose your unique keyboard from the list if you have one. Additionally, by selecting Detect Keyboard Layout, the system will pick your keyboard for you. Use the designated area to test your keyboard if necessary.
Click Continue when you are prepared.
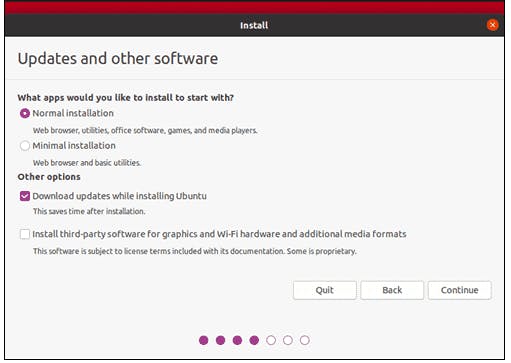
Choose Starting Applications
Normal Installation – With office applications, games, and media players, this is the whole Ubuntu Desktop experience. Minimal Installation – If you won't be utilizing media players or productivity software, go with this option to preserve disk space.
You’ll also be asked to confirm other options:
Download updates while installing Ubuntu – During installation, this handles the task of obtaining big package files. The packages will be available for use as updates after the installation is complete.
Install third-party software for graphics and Wi-Fi hardware and additional media formats – Open-source driver support is not available for many types of hardware, including graphics cards and wi-fi devices. Additionally, the GPL license does not apply to all media formats, including.wmv. You must accept extra conditions of usage if you require assistance for them.
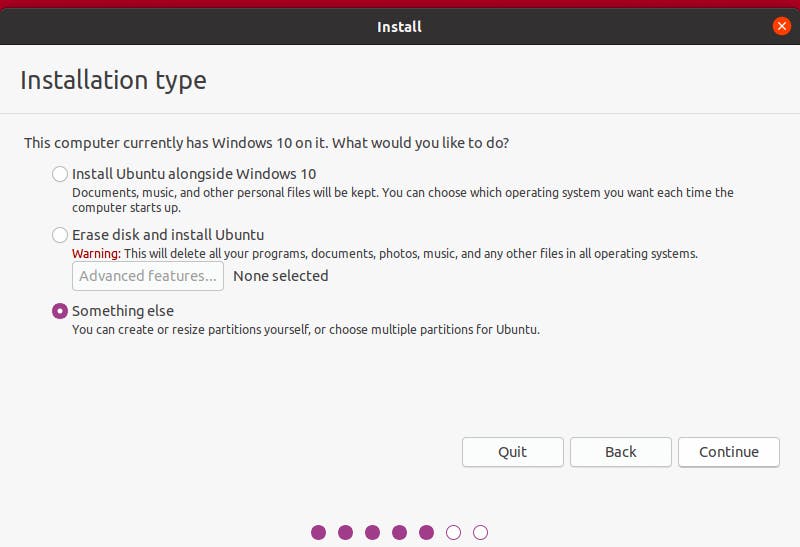
Disk Partitioning
A dialog box asking about the installation type will then appear. By selecting Erase disk and install Ubuntu, you may completely clear the hard drive before installing Ubuntu. If you choose this option, move on to the next step.
Editing Advanced Features may be desirable for advanced users. Use this to configure further advanced parameters or your own disk partitions:
Use LVM with the new Ubuntu installation: LVM (Logical Volume Management) is an utility for managing various virtual disks on your system on a dynamic basis. It resembles an improved version of the gparted tool in many ways.
Encrypt the new Ubuntu installation for security: The content of the disk is then encrypted. You will choose a security key, which will be necessary to decrypt and use the disk.
Experimental: Erase disk and use ZFS: ZFS refers to Zettabyte File System, but it has grown into a hybrid file system and volume manager. Since it’s still being tested, avoid this setting on mission-critical production systems.
You can also keep your old operating system as in the previous image (install Ubuntu alongside Windows 10) and install Ubuntu as a second OS.
If you’d rather create your own hard drive partitions, click Something Else.
You can create your own partition table and logical disks on the next screen. This enables you to create several partitions on a physical hard disk. Partitions are viewed as separate disks by the operating system.
Click Continue to apply your changes to the drive partitions.
You’ll be asked to Write changes to disks? None of the options you’ve selected are permanent until you click Continue on this screen. Click Continue to proceed.
Choose a time zone
The installation will query "Where are you?" once the machine has formatted the disk partitions.
The system will establish your local time zone after you provide the name of the largest nearby city.
Then click Continue.
Create User Account
Next, you’ll need to configure a user account. Fill in the following fields:
Name: Your actual name. Computer name: This is the hostname or network name. Username: The user account name you want to use. Password: Enter and confirm a strong password – the installer will automatically evaluate your password strength. Log in automatically: This is not recommended for publicly accessible servers. Require my password to log in: This is recommended for publicly accessible servers. Click Continue to install Ubuntu.
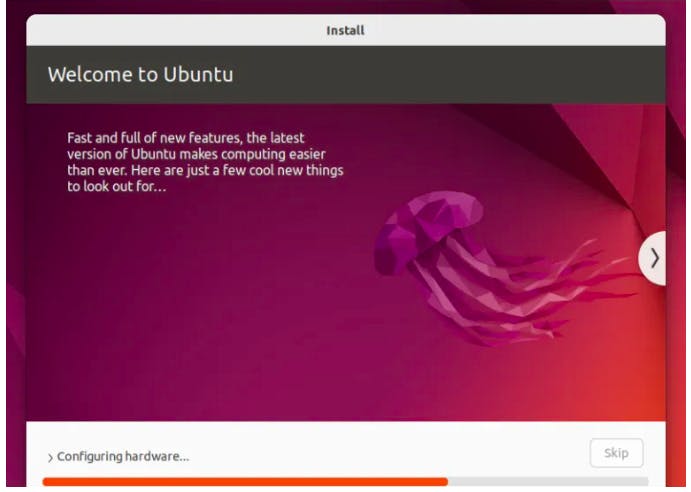
A sequence of displays outlining Ubuntu Desktop and the installation progress bar will appear on your screen during the installation process. During this final step, you are unable to interfere with the installation process.
Once the installer finishes, remove the Ubuntu installation media. You’ll be prompted to Restart Now.
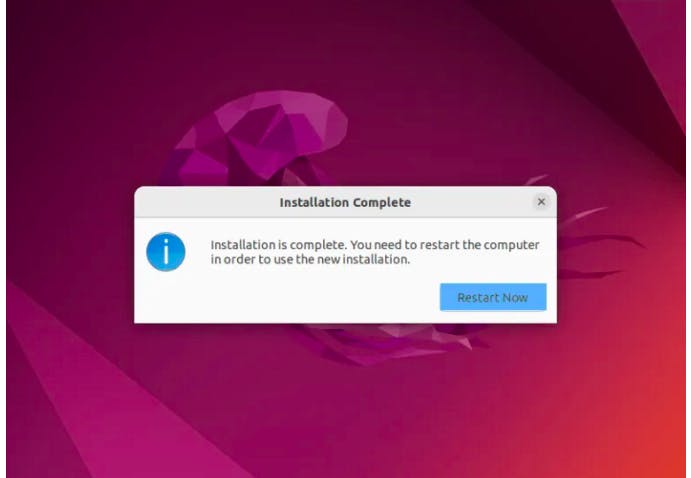
The system should boot into your fresh install of Ubuntu 22.04.
Conclusion
That is it! We have triumphantly installed Ubuntu 22.04 (Jammy Jellyfish) – Step by Step With Screenshots. I hope this guide was significant to you.
You could notice a request to install updates if you're connected to a network. Updates should always be installed; the only exception is when newer versions collide with software that is mission-critical.