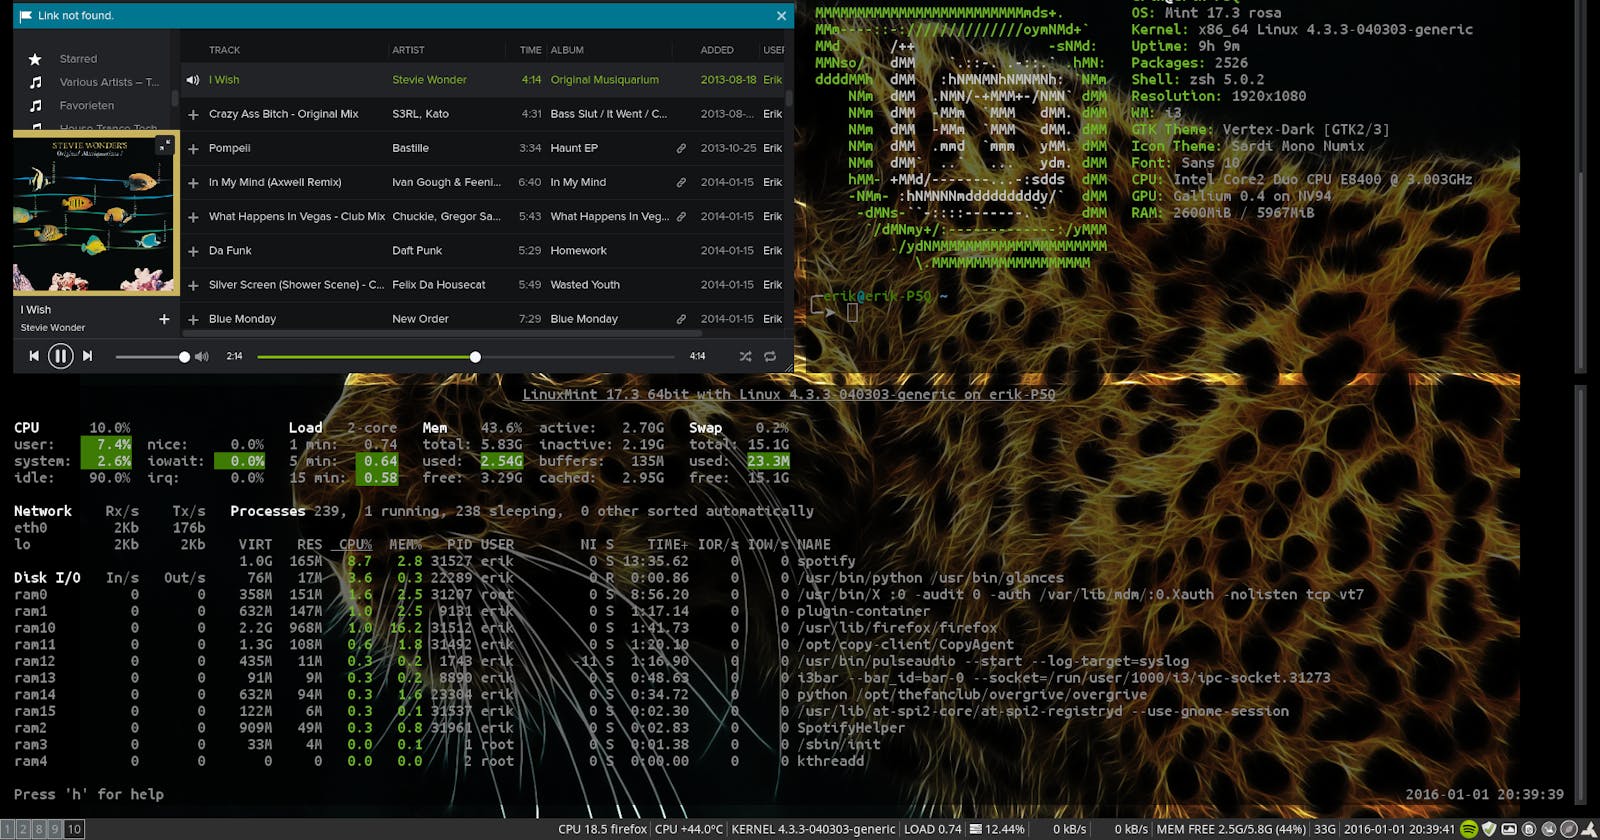
i3 is a free, open-source, and fully customizable windows manager program aimed at advanced Linux and BSD users and developers. It has a tree data structure, which allows for more flexible layouts than its alternatives, and it does not require Haskell or LUA.
i3 is one of the most popular manual window tiling manager software due to its extensive capabilities, which include plain text settings, custom keyboard shortcuts, and configuration without the need to restart the system.
1- Update System
Run the system update command to install the most recent versions of system and app packages, as well as to refresh the repository cache.
sudo apt update
2- Install i3 Window manager
The packages required to install i3 are already accessible through the base repository. As a result, simply execute this command and you're done.
sudo apt install i3 -y
3- Switch to i3 Window manager
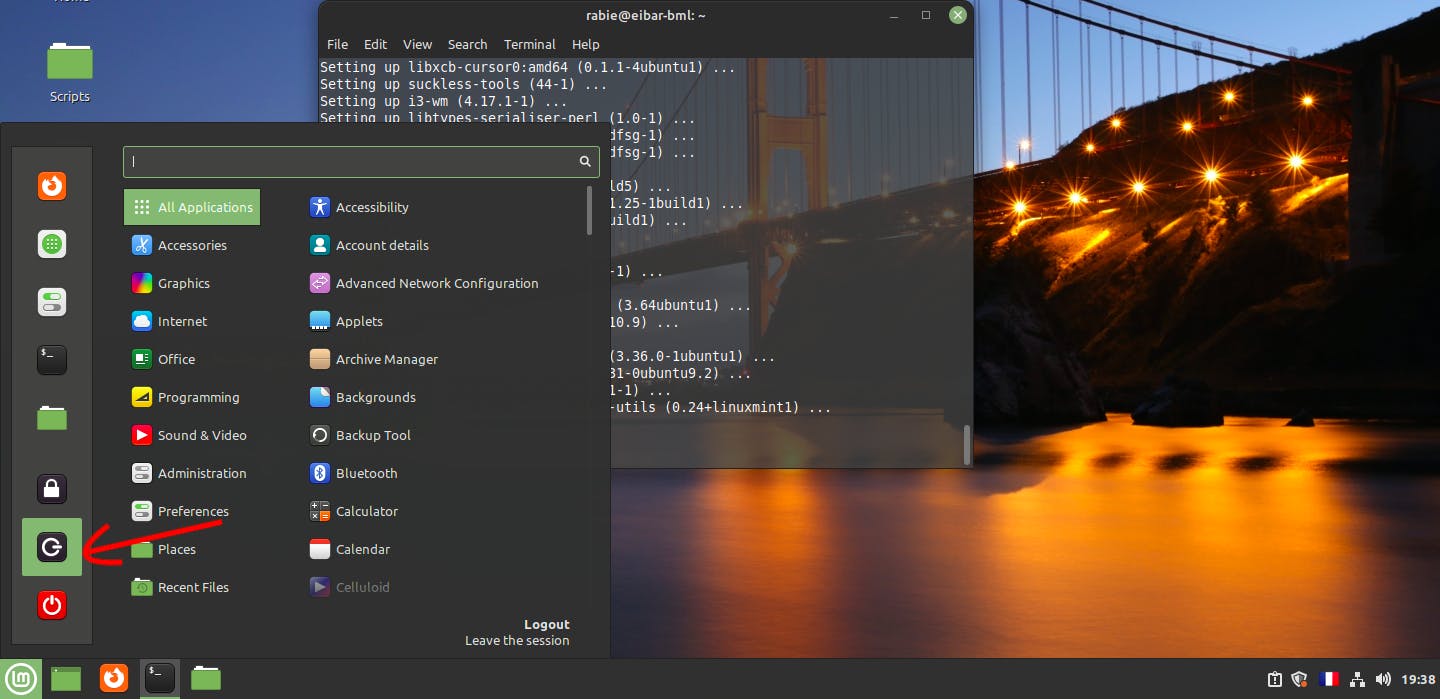
Once the installation is finished, exit your current session, whether it is Linux Mint or another. Then, to log in, click on your Username, but first, click on the "picture" symbol. And then pick "i3."


4- Set i3 Configuration file
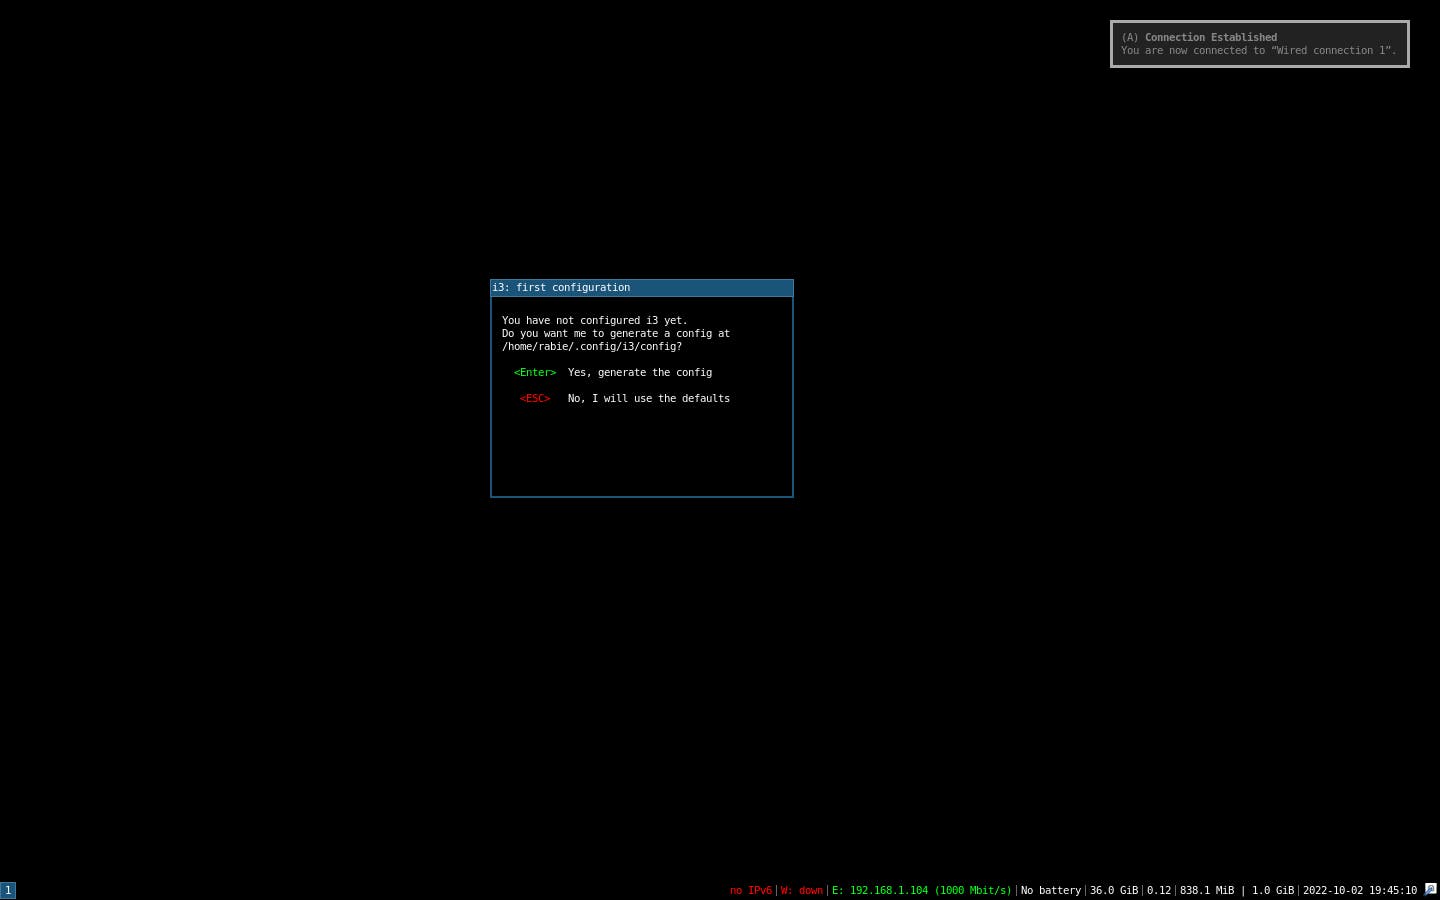
The screen you view may not appear to be very engaging to people who like highly graphical desktops. Those who want to try i3 will see a text-based option to construct an i3 configuration after logging in. By default, pressing the Enter key will store the file in your home directory ~/.config/i3/config.
If you wish to manually copy this file, it is located at /etc/i3/config.
5- Select modifier key
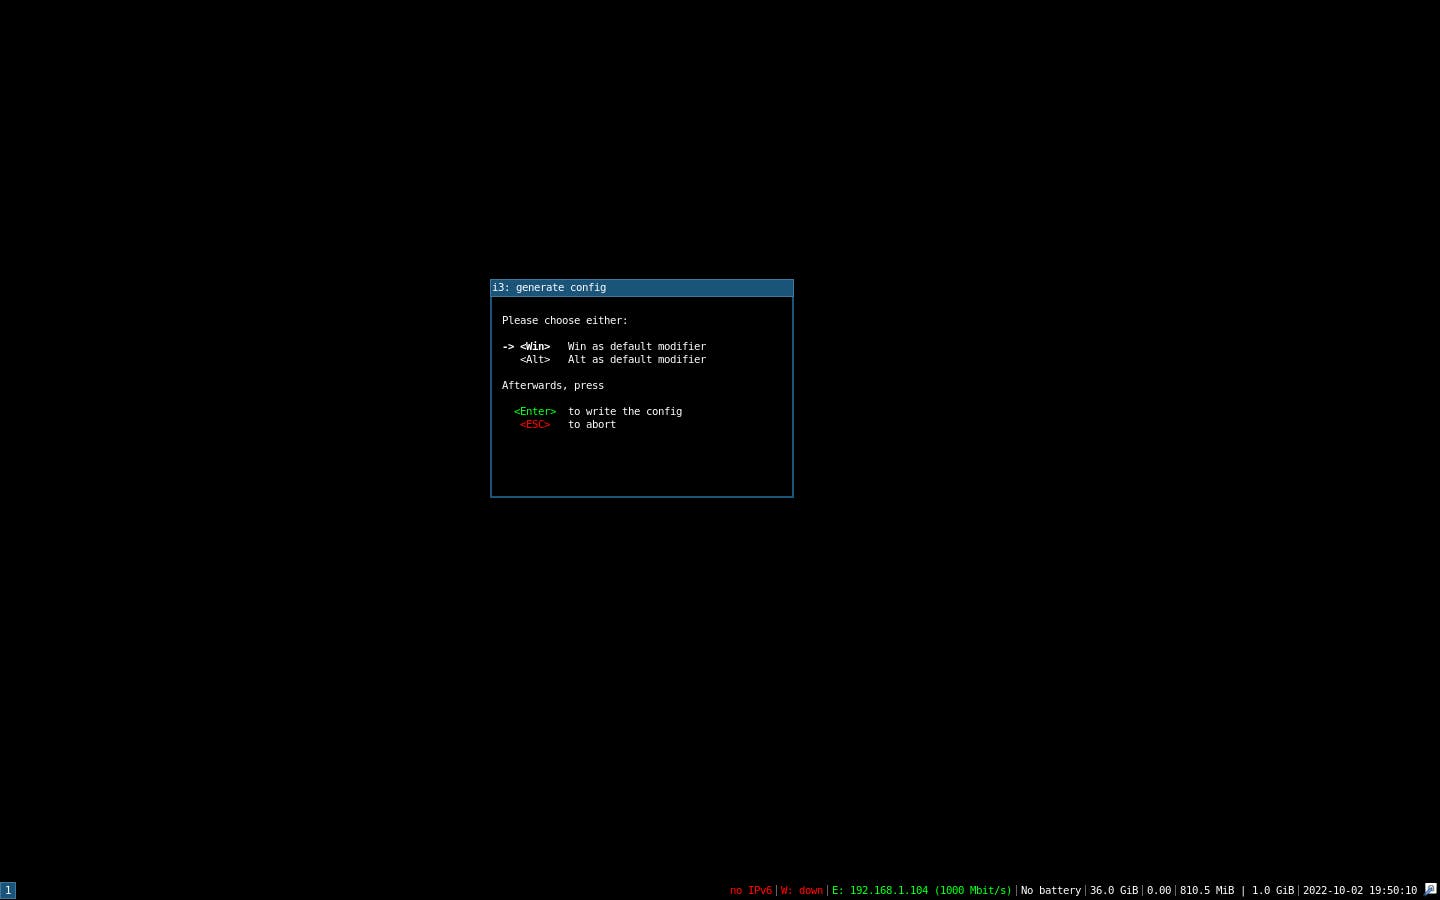
Now, you will be given the choice to pick the default modifier key, commonly known as the $mod key, which will be used to manage applications and other settings in i3. There are two keys to choose and set as default: Win and Alt. By default, the Win key will be selected; simply press the Enter key to proceed. You may also use the Alt key if you want.
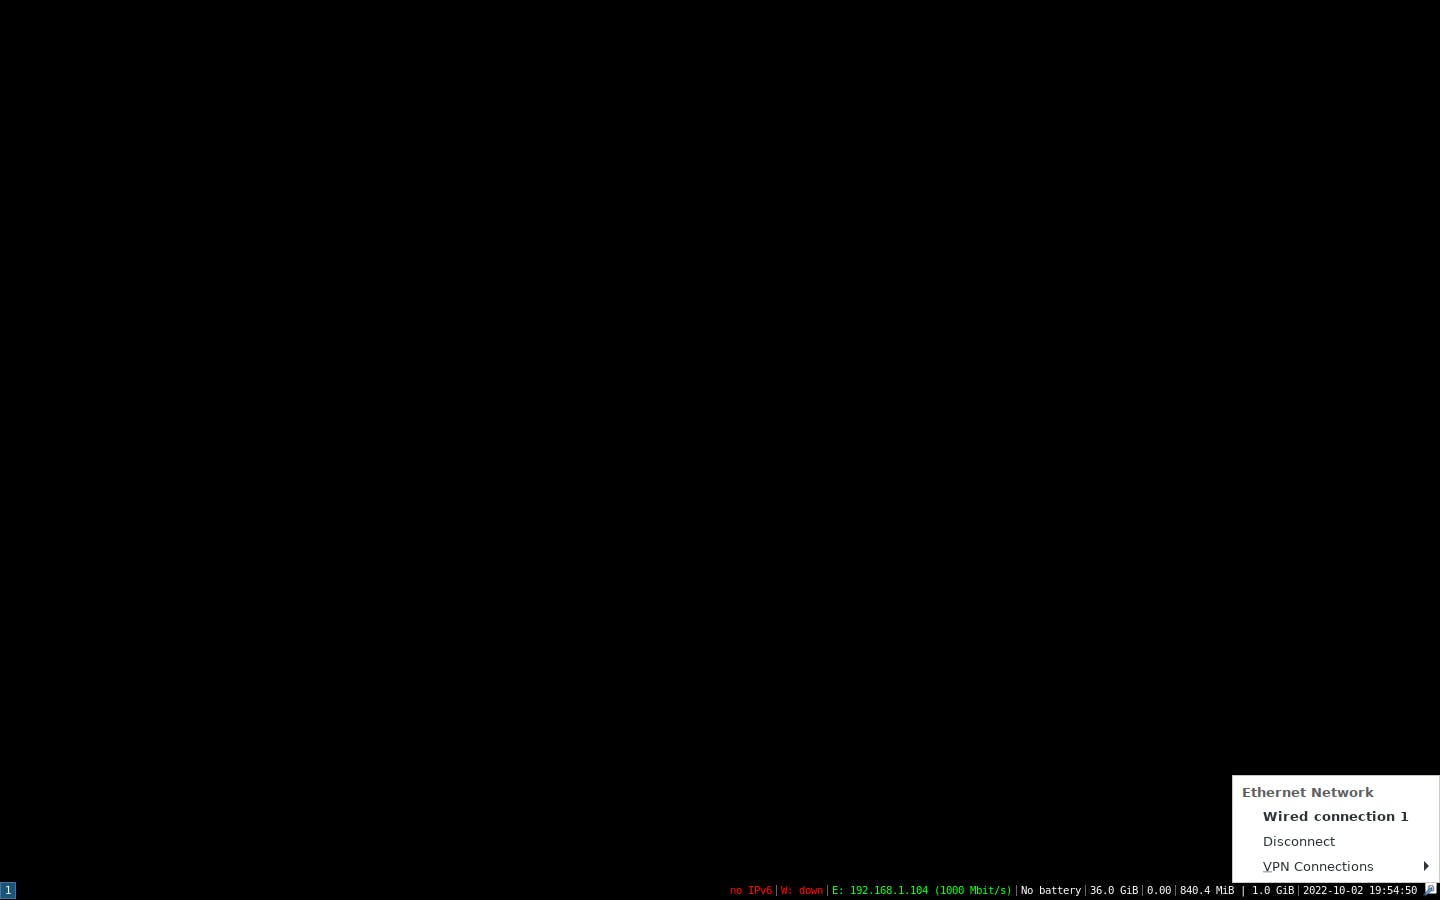
Once it's done, you will see black empty screen with information at the bottom as in the screenshot.
6- Shortcuts to use
Check the official website, you will find the most used shortcuts
